
Pop-up cards are a simple way to turn a simple card into something more fun for the recipient. Let me show you how I figured out to make a pop-up card that I an insert any image into.
First I started by looking at a pop-up card that is already designed and available in Cricut Design Space. This helps me to kind of figure out how the card works and see if I can make on on my own.

Here is what the basic card shape looks like. The dotted lines are score lines and the solid lines are cut lines. I have not been able to figure out how to cut the card in the specific shape of the image that will pop-up from the card, but I did figure out that if I do a basic rectangle I can then attach a shape to the front of that and it works pretty good.
Let me show you how I did it.
I inserted a square from the shapes button and unlocked it so I could make it into a 5 1/2" x 8 1/2" rectangle. Then inserted a score line from the shapes button and rotated it 90 degrees and made it 5 1/2" long. I then selected both the rectangle and the score line and used the Align button to center the score line on the rectangle. Then I selected Attach to attach the score line to the rectangle. This will be the base of your card.

Now let's make the part with the support for the pop-up in it. I made another rectangle that was 5 1/4" x 8 1/4" so that is was just slightly smaller than the base piece. The reason you will need two pieces is that you want the base piece to cover up the opening in the pop-up piece.

This image already shows you the pop-up cuts already attached to the white piece, but now I will show you how I created those score and cut lines and got them all to come together. I am going to insert 6 score lines from the shape button, and then change two of the from score to cut, and then arrange them around a square and group them together. I think the best way to show this is going to be with a video, so here it is.
Once you cut the card and fold it, you will see there is a little ledge that sticks out.

The front of that ledge is what you will attach the image that will pop up to.

If you want to use the card sections that I already designed, you can access this file by clicking HERE. It was all created with basic shapes.
So once the card was all put together, this is how it looked
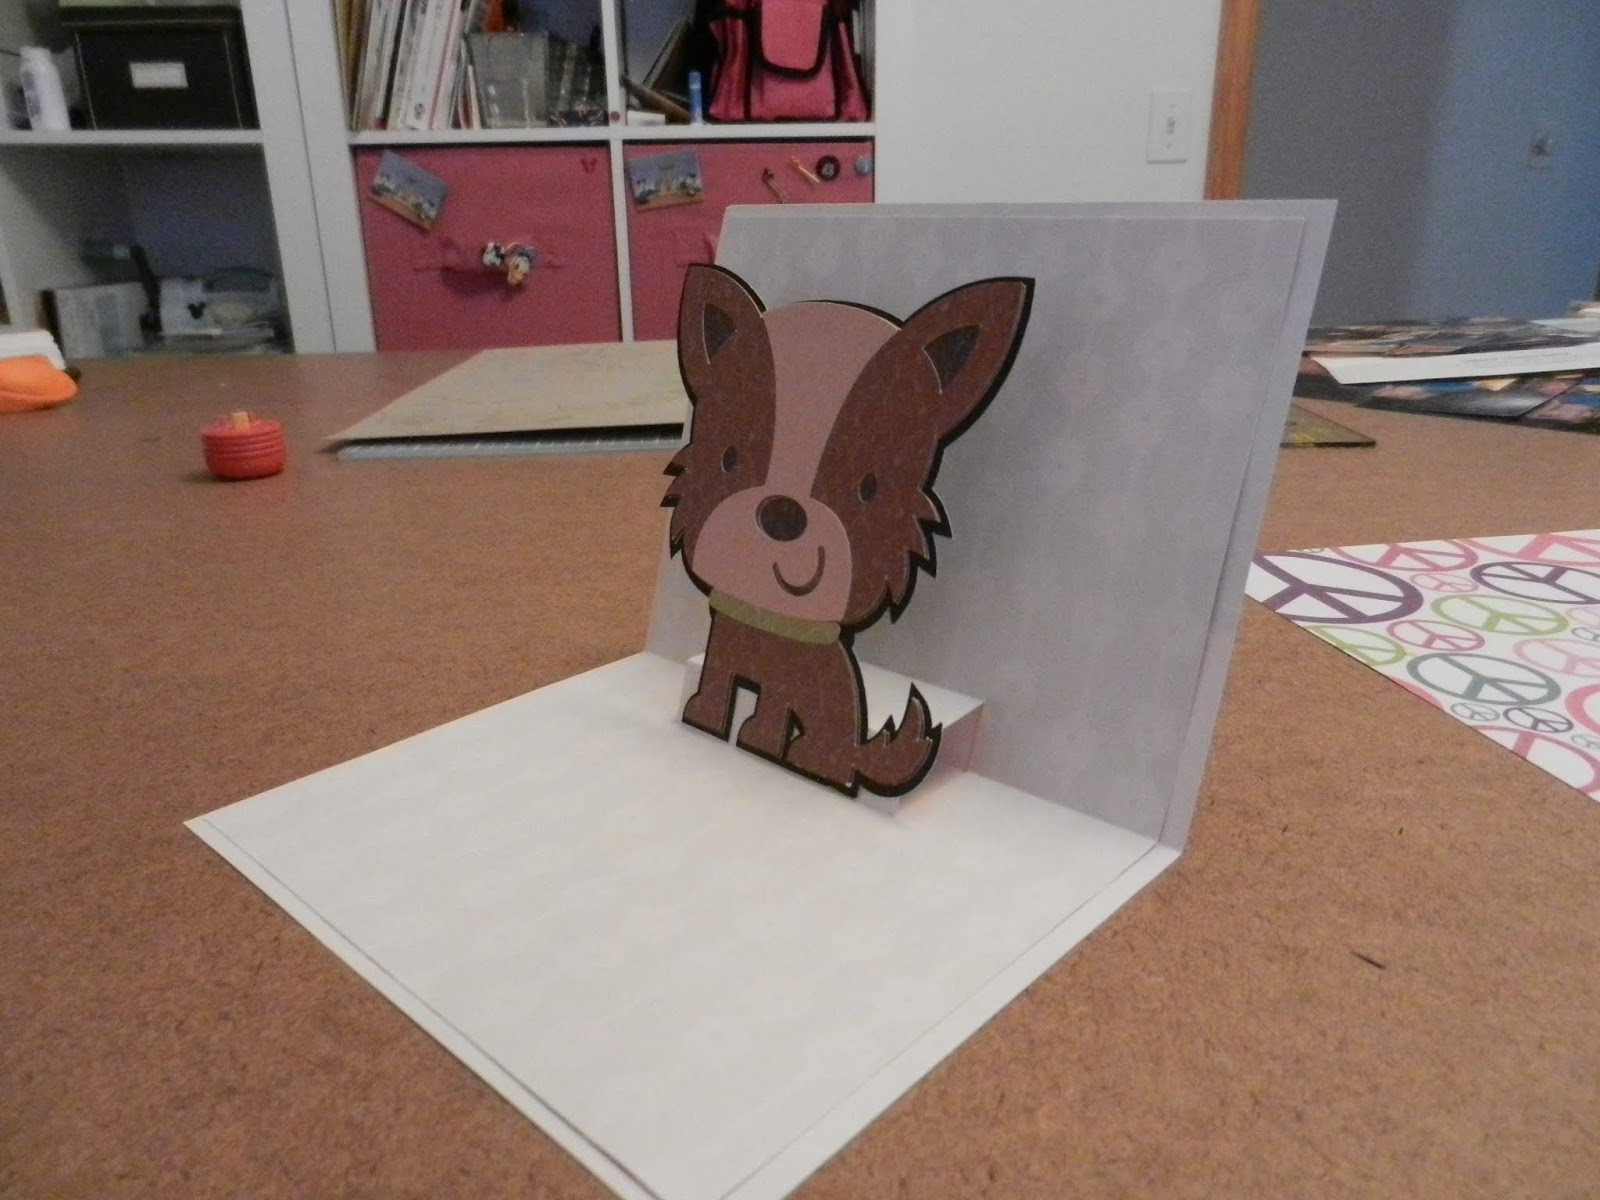
I used a little puppy from the Cricut Create A Critter cartridge.
If I wanted to adjust the dimensions of the cuts on the pop up, then I could do that to work with other images.

Keep following me and join my Teach Me Cricut Design Space group on Facebook!
Thanks!
Shawn's Teach me Cricut Design Space Group
Crafty Chic's Blog on Facebook // YouTube // Instagram // Crafting Pixie
No comments:
Post a Comment